
Why vacuum frying suits pet treats
Pet treats need to be crisp, easy to break or chew, and appealing enough that a dog or cat will eat them at once. Vacuum frying fits that job well, turning raw meat and vegetables into a dry, crunchy piece without the heavy oil load of deep frying.
The key difference is temperature. Under vacuum, water leaves the product at a much lower temperature, so frying happens at only 80–100°C. At that temperature, lean meat keeps its colour, sweet potato stays orange rather than browning, and carrot keeps its flavour instead of tasting scorched.
The second advantage is oil control. After frying, the basket spins inside the chamber and centrifugal force throws off surface oil before the pieces cool. Finished vacuum fried pet treats hold less than 18% oil, and a dry-to-the-touch piece is easier to handle and pack, and keeps its crunch.
Which ingredients work best
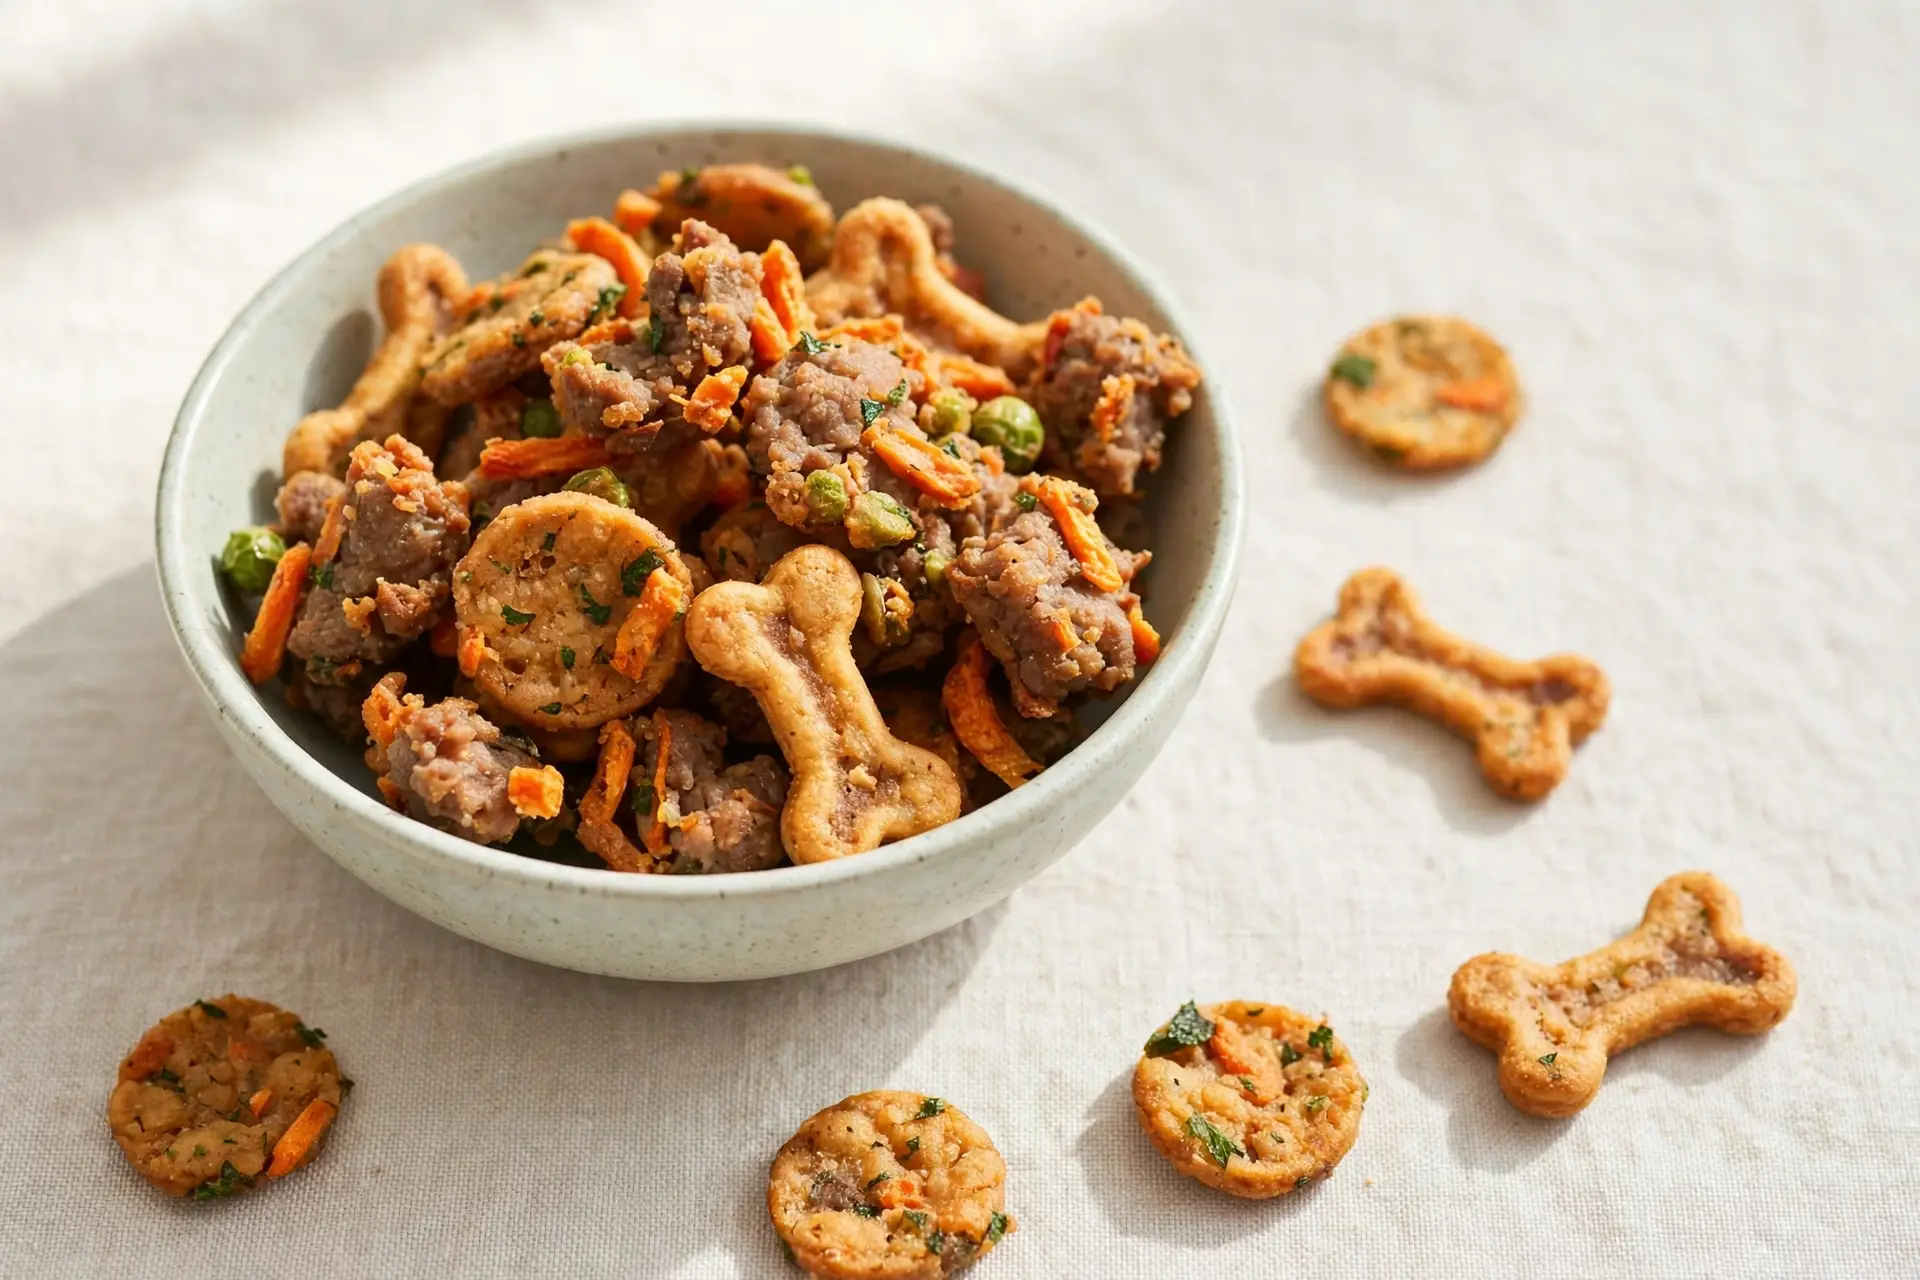
The best ingredients hold their shape in hot oil and dry to a firm crunch. Lean meat pieces, chicken, fish, sweet potato, carrot, pumpkin and peas are the usual starting points, sold as single-ingredient treats or mixed in a pack.
Meat and fish
Lean meat pieces are the most popular choice for dog treats: they fry to a firm, chewy-crisp texture and keep a natural colour at 80–100°C. Chicken works in the same way, cut into strips or small pieces of even thickness. Fish, cut into thin pieces, dries quickly and turns crisp, but it is more fragile than meat, so handle the basket gently.
Choose lean cuts and trim visible fat before cutting, since fatty pieces fry unevenly. Remove bones, skin and gristle, and keep the raw material chilled and clean before frying.
Vegetables
Sweet potato is the most forgiving vegetable for pet treats: it cuts cleanly, holds its shape, and fries to a bright orange crisp. Carrot is similar, though thin slices can curl, so cut them thick enough to stay flat. Pumpkin fries to a soft gold, and peas dry to small, round, crunchy bites.
Do not mix ingredients of very different thickness in one batch: a thin fish slice and a thick sweet potato piece will never finish at the same time. Test any new ingredient in a small batch first. If you plan to sell a mixed pack, fry each ingredient separately and mix the finished pieces afterwards.
Preparation: sorting, cutting and blanching
Preparation decides more of the final quality than the fryer settings do.
Sort and grade first
Sort the raw material by size and remove damaged pieces, bones, stones and foreign material. One size grade per batch is the rule that matters most: pieces of the same size fry at the same rate.
Cut to an even size
Cut meat, fish and vegetables to an even size and thickness: strips or cubes for meat, slices or sticks for vegetables. Uneven pieces are the most common cause of a mixed batch, with some pieces pale and soft and others dark and hard.
Clean and drain before loading
Rinse vegetables to remove soil and dirt, and drain off surface moisture before loading. Pieces that go in dripping wet spit in the oil and fry unevenly, so spread them out to drain. Keep meat and fish chilled until loading.
Blanching is a product-dependent option
Blanching is standard for potato chips and fries, and strongly advised for root vegetables, but it is usually not done for delicate fruits. For pet treats it is a product-dependent option to verify: a short blanch can help with some root vegetables, while meat and fish are usually fried without it. Test it on a small batch first and confirm with your supplier.
A note on pre-freezing
Some producers freeze raw material before vacuum frying as an optional variant for certain products. For pet treats it is not a standard or default step.
The vacuum frying process at 80–100°C
Vacuum frying follows five steps: preparation, vacuuming, frying, centrifugal de-oiling, and packing.
Loading the basket
Spread the pieces in a single even layer, with room for oil to circulate around every piece. Do not overload the basket to save a cycle: a crowded basket fries unevenly and pieces in the middle stay soft.
Frying under vacuum
The basket is lowered into oil heated to 80–100°C while the chamber is held under vacuum. Under vacuum, water inside the piece boils off at a far lower temperature than in open air, so moisture escapes as gentle bubbles. Keep the oil clean and filtered between batches, since dirty oil darkens every batch that follows.
Knowing when the batch is done
There is no fixed frying time: the right moment depends on the ingredient, piece size, raw-material moisture and basket load, so never copy a time from another product. Watch the bubbling slow, check the colour against your own reference sample, and break a piece open — one that looks crisp outside can still be soft inside.
Centrifugal de-oiling: the step that keeps oil below 18%
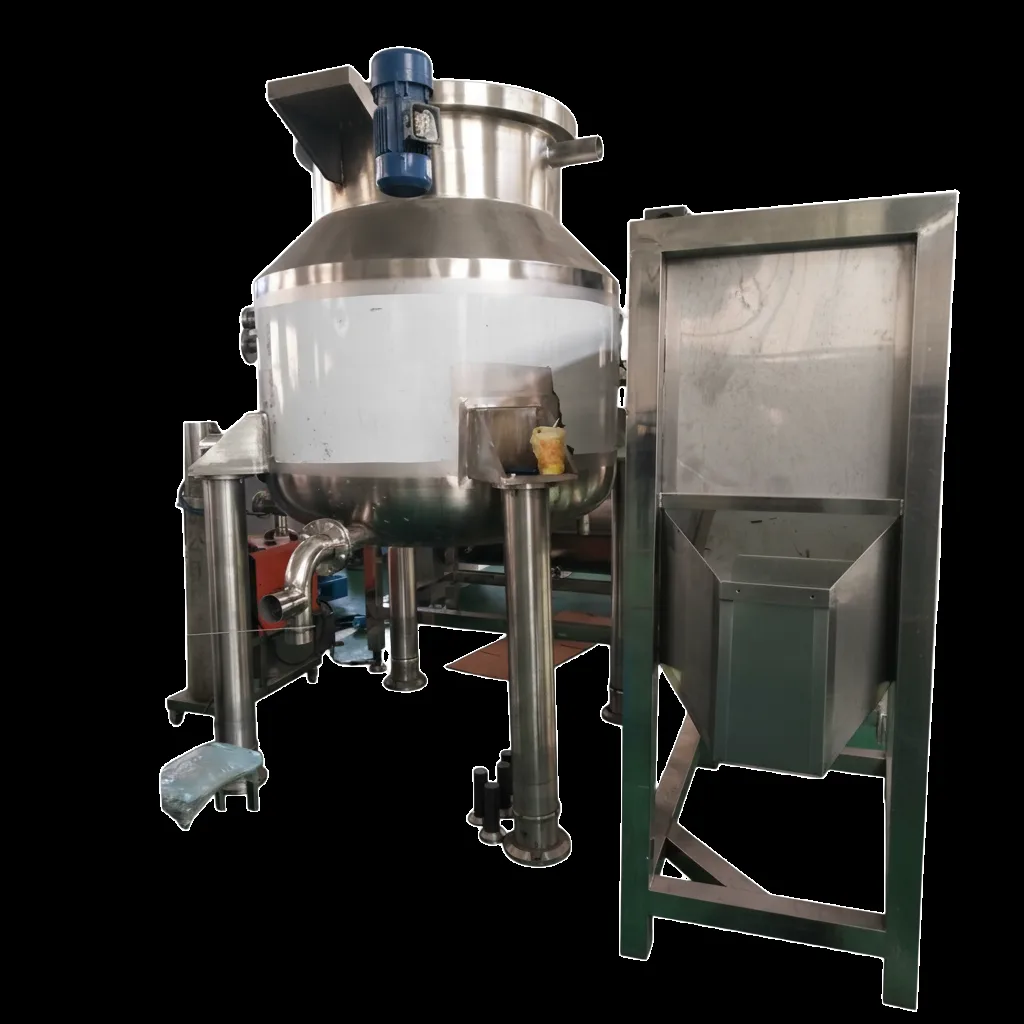
De-oiling is what makes vacuum fried pet treats a low-oil product. As soon as frying ends, the basket lifts out of the oil and spins inside the chamber while the vacuum is still on, throwing surface oil off before the pieces meet open air.
Timing matters: while the pieces are still hot, surface oil is thin and runs off easily; once they cool, it thickens and soaks back in. That is why the spin happens inside the chamber, immediately after frying. Any machine you consider should have a built-in centrifuge.
Done properly, this keeps finished oil content below 18% — a result to verify on your own product, so check the oil content of your finished batches. If a batch comes out glossy or oily, check the spin, the load size and the oil temperature first. Handle the basket gently once the spin stops: hot treats are crisp but fragile.
Size and hardness for different pets
Pet treats are not one size fits all. The right piece size depends on the animal it is made for, so offer a clear size range and label it plainly.
Small pieces suit small dogs and cats: they are easy to pick up and chew, and easy to portion as a training reward. Larger pieces suit larger dogs. As a general guide, keep the pieces in one pack the same size, and do not mix small and large pieces in the same bag.
Hardness follows the same logic. A thin, fully dried piece breaks with a snap and suits a small animal, while a thicker piece stays firmer and gives a larger dog something to chew. Test the hardness by breaking a piece by hand: one that is crisp outside and soft inside has not finished drying.
Do not make claims about what any specific animal needs, and do not present a treat as a complete food. Pet food labelling and composition rules vary by market, so check the rules for your target market first.
Packing and storage
Pack promptly once the treats are cool enough to handle, in a pack that blocks moisture and oxygen, with a clean, firm seal — check it, since the seal is where most failures happen. Pet treats absorb moisture quickly, and even a short wait on an open bench in a humid room can soften the crunch. Label each pack as the destination market requires, and store sealed packs cool and dry.
Choosing a vacuum fryer for pet treats
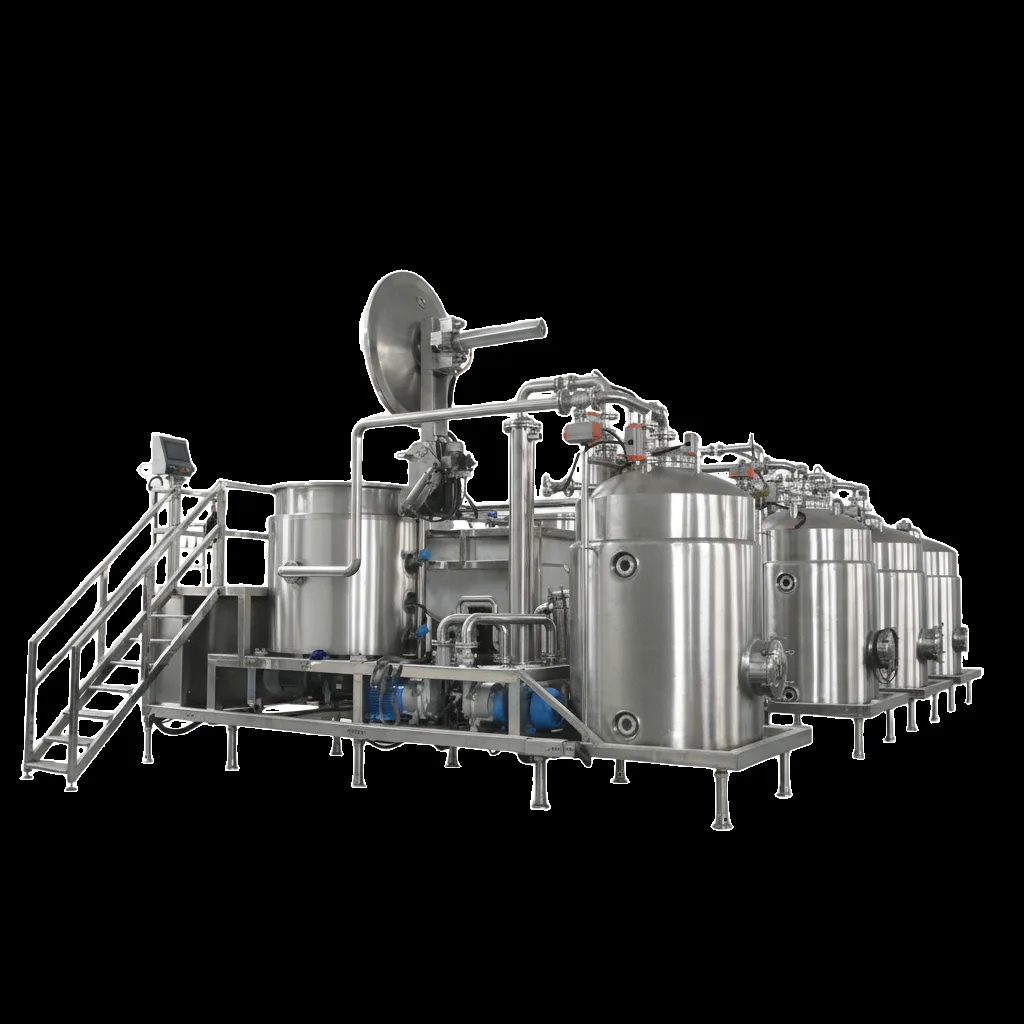
The right fryer depends on how much you plan to produce: a small producer making trial batches can start with a compact model, while a factory supplying pet shops and retail chains needs a larger vessel and basket. Compare models on batch capacity and vessel size, not just the nameplate.
Check four things. First, the basket and vessel: the basket must hold your batch in a single even layer, with room for oil to circulate. Second, the built-in centrifuge for de-oiling. Third, the controls: QS vacuum fryers use a Delta PLC with a MCGS touchscreen, so frying and spinning repeat from batch to batch. Fourth, cleaning: ask how the vessel, basket and oil system are cleaned.
QS vacuum fryer models
| Model | Batch capacity |
|---|---|
| QS-VF100 | 100KG/batch |
| QS-VF150 | 150KG/batch |
| QS-300 | 300KG/batch |
- QS-300 vessel: 2600mm (H) x 1600mm (D).
- Frying temperature: 80–100°C under vacuum.
- De-oiling: centrifugal, inside the chamber.
- Control: Delta PLC with MCGS touchscreen.
- Construction: 304 stainless steel.
- Warranty: 1-year warranty; lead time approx. 3 months.
Before you buy, run a trial batch of your own ingredients on the machine you are considering.
Common mistakes to avoid
Most failed batches come from the same few oversights.
- Mixing sizes or ingredients in one batch, so the pieces finish at different times.
- Overloading the basket to save a cycle, leaving middle pieces pale and soft.
- Treating blanching as a universal step, instead of testing whether your product needs it.
- Skipping or shortening the centrifugal spin, leaving surface oil on the pieces.
Frequently asked questions
Which ingredients are best for vacuum fried pet treats?
Lean meat pieces, chicken, fish and vegetables such as sweet potato, carrot, pumpkin and peas are the most common choices, because they hold their shape and crisp well at 80–100°C. Start with one ingredient and one size grade per batch.
Do pet treats need blanching before vacuum frying?
Not as a rule. Blanching is standard for potato chips and fries and strongly advised for root vegetables, but it is usually not done for delicate fruits, and for pet treats it is a product-dependent option to verify. Test it on a small batch first.
Why is centrifugal de-oiling important after vacuum frying?
Because it removes surface oil before the pieces cool and soak it back in. The basket spins inside the chamber while still under vacuum, and that spin keeps finished oil content below 18%.
How should vacuum fried pet treats be packed and stored?
Pack them promptly once cool enough to handle, in a pack that blocks moisture and oxygen, and check the seal. Pet treats absorb moisture quickly, so any delay softens the crunch. Follow the labelling, composition and storage rules of your target market.
Talk to us about your vacuum frying line
Tell us your product and target output — we will help you size the fryer. Explore the range on our vacuum fryer page.
Specifications are for reference only and are subject to the final supplied equipment.